
Introduction — a lab morning, a chart, and a question
I remember one wet lab morning when a promising sample sat on my bench while the team argued over protocol choice—sound familiar? In many labs, tissue dissociation single cell work is the gatekeeper to any downstream single-cell study, and delays here can stall whole projects. Recent surveys show that up to 40% of single-cell projects report sample prep as the main cause of failed runs (small studies, yes — but telling). So, how do we stop losing weeks to manual chopping, variable enzymatic digestion, and inconsistent cell viability? Let’s walk through the pain points and what I honestly think makes the biggest difference — and then see what practical options we have next.
Part 1 — The deeper pains: Where current workflows fail
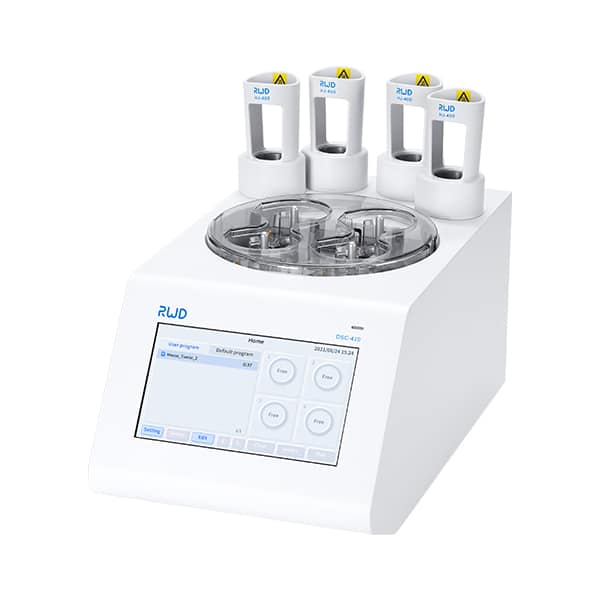
Technically, tissue dissociation aims to produce a clean single-cell suspension with high viability and minimal stress. But in practice, manual tissue mincing, timed enzymatic digestion, and hand-shaken mechanical dissociation create lots of variability. I want to point straight to one solution many teams try to bypass this: the automated tissue dissociator, which promises standardisation. Yet even with automation, labs run into sample-specific problems — fibrotic tissue resists digestion, small biopsies get lost in tubes, and fragile neurons die before sequencing. Look, it’s simpler than you think when you break it down: mechanical shear, over-digestion, and temperature swings are the usual suspects.
Why do these flaws matter so much?
Because they don’t just waste time — they skew biology. Enzymatic digestion can cleave surface markers we need for sorting. Mechanical dissociation can stress cells, altering gene expression — that’s a real confounder when we try to map cell states. And when yields are low, you end up with underpowered single-cell RNA-seq or noisy flow cytometry data. I’ve seen teams repeat experiments multiple times — frustrating and costly. The real pain point is not just lost samples; it’s lost confidence in the data. (We’ve all been there, diba?)
Part 2 — Moving forward: principles and practical choices
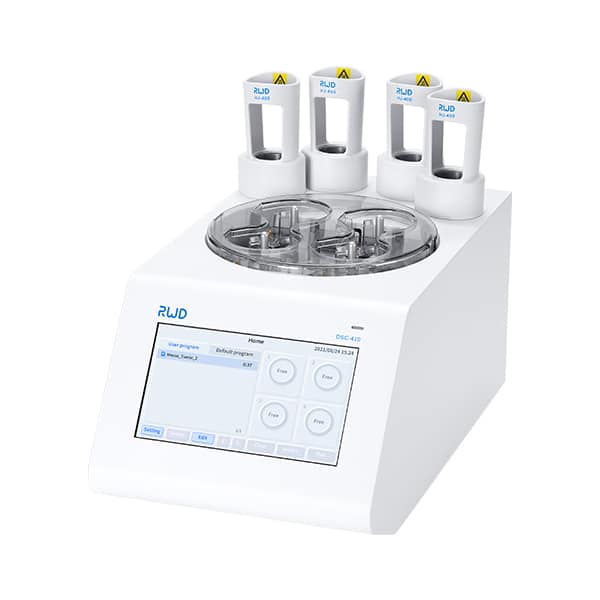
What if we step back and set a few core principles? First: match method to tissue type — soft tissues, fibrotic tissue, and neural tissue each need tailored enzyme blends and gentle mechanical action. Second: standardise temperature and timing to protect cell viability and marker integrity. Third: monitor process with checkpoints — quick staining and counts to decide if the run needs adjustment. The automated tissue dissociator can help enforce consistency, but you still need good assay design and QC steps like viability assays, cell counts, and pilot runs. I favor integrating microfluidics-friendly output (single-cell suspension free of debris) and considering downstream needs like flow cytometry or droplet encapsulation.
Let me give you a compact checklist I use: 1) pre-assess tissue size and fibrosis, 2) pick enzyme mix and incubation gently, 3) run a brief mechanical test on a small aliquot, and 4) always check viability before committing to sequencing. Small steps, big difference. — funny how that works, right?
Real-world tweaks that save time
We swapped blunt scissors for a more controlled mincing tool, shortened incubation by ten minutes while adding periodic gentle pipetting, and suddenly our cell yields rose with better marker retention. I’m partial to low-speed mechanical dissociation paired with optimized collagenase blends for tough tissues. This reduced doublets and improved downstream clustering. Those changes are practical, not theoretical — and they cut repeated runs nearly in half.
Part 3 — What to look for next: technology and evaluation
Looking ahead, the best approaches combine smarter hardware with clearer decision points. New technology principles focus on reproducible mechanics, adaptive enzyme delivery, and inline QC. For example, devices that vary agitation speed based on resistance or measure turbidity to infer cell release can adapt in real time — reducing over-digestion. The automated tissue dissociator fits this trend by offering preset programs and reproducible agitation profiles that many labs find helpful. I think the future is about reducing human variability while keeping flexibility for tissue quirks.
What’s Next — and how you judge options? You’ll want simple metrics. Here are three I personally use when evaluating any dissociation solution: 1) post-dissociation viability percentage (higher is better), 2) proportion of single cells vs. doublets/debris from microscopy or flow cytometry, and 3) reproducibility across replicates (same protocol, similar yield). Those three tell you whether you’ve solved the core issues or just moved them around. If a device or protocol hits these consistently, you’re in good shape. — and that consistency saves time, money, and sleepless nights.
To close, I’ll be candid: no single tool fixes every tissue or study. But combining an automated platform with thoughtful protocol tuning, solid QC, and clear evaluation metrics gets you close. I’ve used these approaches in our group and we’ve seen fewer failed runs and cleaner data. If you’re comparing commercial options, weigh the metrics above and try pilot runs before scaling up. For tool references and devices that I’ve found reliable in the field, I often point colleagues to providers like BPLabLine for practical solutions and support.